 simpler
Materials
A material tells the light how to behave on a surface: what colour it is, how much it shines, whether light goes through it. Simpler gives you a material editor in plain words, with no node graphs: you pick a type, then adjust a few clearly named sections. Most of the time two or three sliders are all you need.
Applying a material#
The quickest way to give a surface a material is to drag one from the library onto it. What happens then depends on the How a dropped material is applied ▾ menu in the toolbar, and it is worth knowing the four options because each one fits a different situation.
With Apply to object, the default, the material goes only on the piece where you drop it: the seat of a chair, one wall, the top of a table. With Replace material the new material takes the place of the one under the mouse everywhere in the scene: drop a new parquet on one floor of a building and every room with that floor changes at once. Replace in selection does the same, but only inside the objects you selected, leaving other models alone. Apply to selection puts the material on all the selected objects, wherever you drop it.
Wondering what material a surface has? Click the eyedropper, then the surface: its material opens immediately in the panel.
The Material panel#
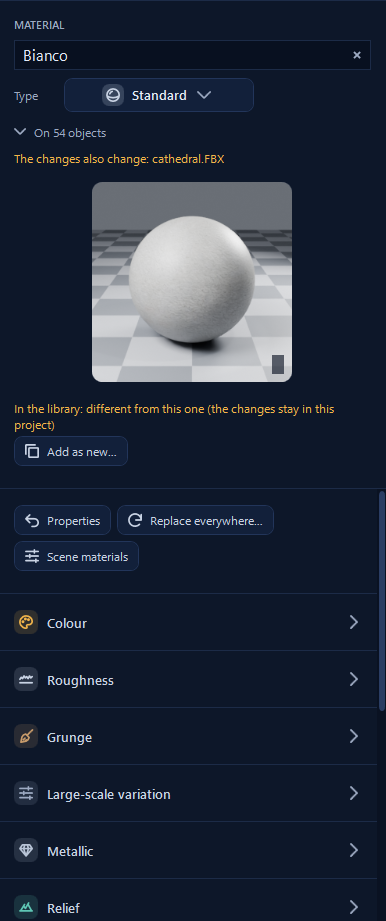
You open the panel with the Materials button in the toolbar, or by selecting an object and clicking one of its materials. The first lines of the panel tell you exactly what you are working on. Under the name and the type, On 54 objects says how many objects use this material (open the arrow to see them). The orange line «The changes also change: …», followed by the model's name, tells you which model you are modifying, so there are no surprises. The preview sphere updates as you move the sliders.
If you change a material that comes from the library, another line appears: «In the library: different from this one». Your changes stay in this project, and the library keeps the original. If you like your version and want it in other projects too, Add as new… saves it in the library as a new material. Replace everywhere… swaps this material with another in the whole scene, and Scene materials lists all the materials of the scene, useful for finding the one you are looking for.
The model decides. A material changed on one model never changes another model, even if it has a material with the same name.
Choosing the type#
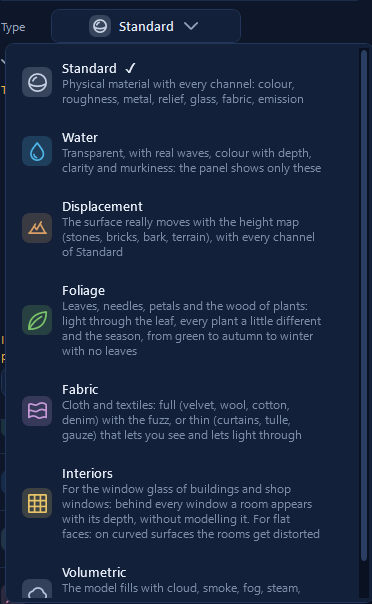
The type decides which sections the panel shows, and choosing the right one does half of the work for you. Standard is the universal physical material: colour, roughness, metal, relief, glass, fabric, emission; it covers the vast majority of surfaces, from plaster to steel. The other types are specialists. Water is for pools, lakes and glasses of water, with real waves and colour that deepens with depth. Displacement really moves the surface following a height map, so stones stick out of a wall and bricks have true joints. Foliage is for leaves, needles, petals and the wood of plants, with light shining through the leaves and the seasons. Fabric is for cloth, heavy like velvet or thin like a curtain. Interiors is a clever trick for the windows of buildings, which shows a furnished room behind every window without modelling it. Volumetric turns a model into cloud, smoke, fog, steam, dust or fire.
Standard: the sections#
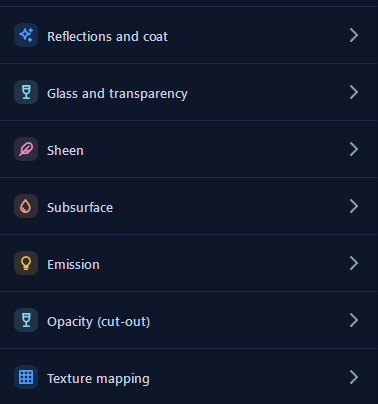
A Standard material is divided into sections, each about one quality of the surface. Each has its main controls and, under Advanced, the finer ones; you can leave Advanced closed, the starting values are already sensible.
Colour#
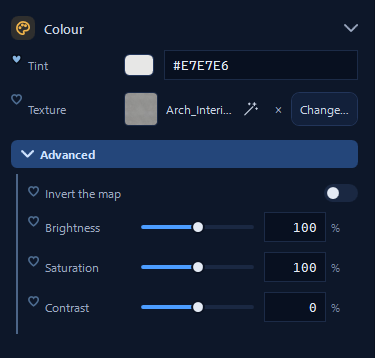
The colour is either a plain Tint or a Texture, a picture of the surface such as wood grain or a brick wall; when there is a texture, the tint colours it. Change… picks another picture and × removes it. Under Advanced you can adjust the Brightness, Saturation and Contrast of the texture, or Invert the map, without touching the picture itself: handy when a downloaded wood is a little too orange.
Roughness#
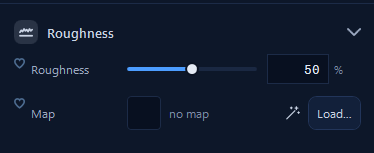
Roughness is perhaps the most important slider for realism, because it decides how blurred the reflections are. At 0% a surface is a mirror; polished marble, lacquer and glass sit very low. Plaster, raw wood and concrete sit high. Real surfaces are rarely perfectly smooth, and a few percent of roughness often makes a material look real instead of plastic. A map lets the roughness change across the surface, for example a worn floor that is more matt where people walk.
The small magic wand next to a map creates it for you on your computer (DeepBump): a relief from the colour texture, a height from the relief. The first time it downloads about 40 MB of components.
Grunge#
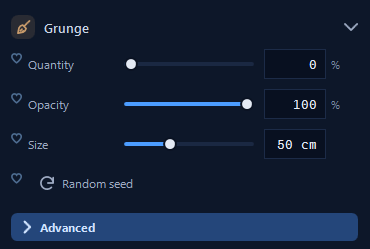
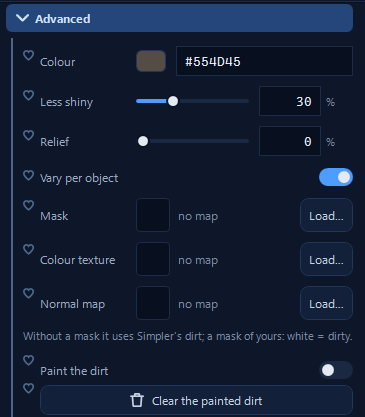
Nothing in the real world is perfectly clean, and perfect cleanliness is one of the things that betray a render. Grunge adds stains and dirt to any material: choose the Quantity, Opacity and Size, and click Random seed until the stains fall in a pleasant place. Under Advanced you choose the Colour of the dirt and make it Less shiny than the surface (dirt is always more matt), give it some Relief, vary it per object, or use your own Mask, where white means dirty.
The most fun option is Paint the dirt: you paint it by hand directly on the model, darker at the foot of a wall, around a door handle, under a window sill. Click and drag on the view, Shift takes away, [ and ] change the size, Esc finishes.
Large-scale variation and metal#
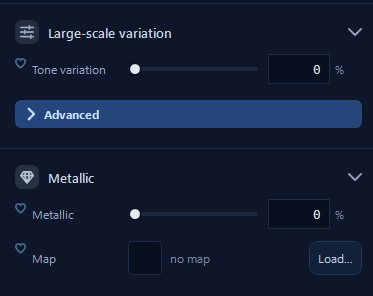
On a big surface, a lawn or the wall of a building, a texture repeated hundreds of times looks like wallpaper. Tone variation adds a slow change of colour over several metres, like the light and dark patches of a real meadow, and the repetition disappears.
Metallic is simple: 0% for everything that is not metal, 100% for metals like steel, copper, gold and aluminium. Values in between are rarely right. A map says where the metal is, for example a painted metal with chipped paint.
Relief#
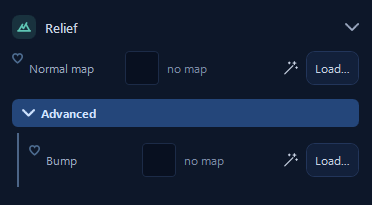
A normal map gives the light the small details of the surface, the joints of the tiles, the grain of the wood, the weave of a fabric, without changing the actual shape: it is light and almost always enough. The bump under Advanced does the same starting from a black and white picture. When you need a relief that really changes the shape, visible even in the silhouette, use the Displacement type instead.
Reflections and coat#
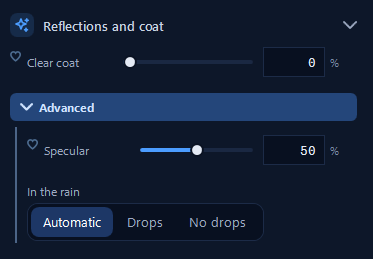
Clear coat adds a transparent glossy layer on top of the material, like the varnish of a car or of a lacquered table: under it the colour, on top a crisp reflection. Specular decides how much a non-metal surface reflects; 50% is right for nearly every material. In the rain decides whether drops form on this surface when it rains: Automatic lets Simpler decide, Drops and No drops force the choice.
Glass and transparency#
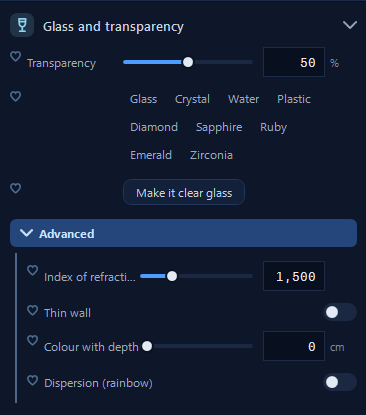
Glass is where path tracing shines, and Simpler makes it easy. Transparency goes from opaque to fully transparent; the presets Glass, Crystal, Water, Plastic, Diamond, Sapphire, Ruby, Emerald and Zirconia each set the correct refraction and colour in one click. If an imported glass looks grey or milky, Make it clear glass turns it into clean transparent glass.
Under Advanced you find the physics. The Index of refraction says how much the glass bends the light: 1.5 for glass, 1.33 for water, 2.42 for diamond. Thin wall is for objects without real thickness, like a window pane modelled as a single sheet, a bulb or a soap bubble. Colour with depth makes thick glass greener where it is thicker, as real glass does at its edges, and Dispersion (rainbow) splits the light into colours, the sparkle of gems.
Sheen and subsurface#
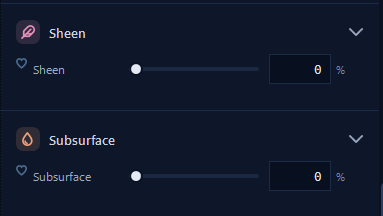
Sheen is the soft glow at the edges of velvet and of some fabrics, which makes a sofa look soft. Subsurface lets the light enter the material and spread inside before coming out: it is what makes skin, wax, marble, milk and leaves look alive instead of painted.
Emission#
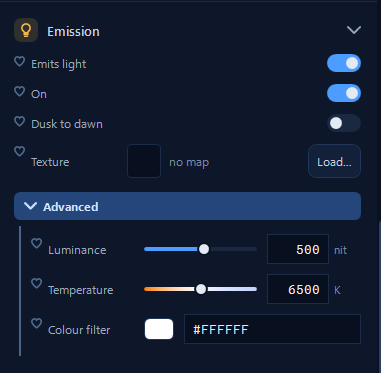
With Emits light a surface becomes a light: a TV screen, a neon sign, a lampshade, an LED panel. A Texture makes a picture glow, perfect for a screen showing an image. Under Advanced, Luminance in nits, Temperature in kelvin and a Colour filter set how strong and what colour the light is. Like real lamps, emissive materials can use Dusk to dawn and turn on by themselves when evening comes.
Opacity (cut-out)#
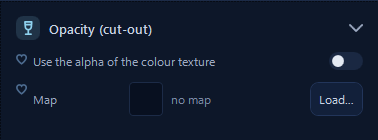
Opacity cuts holes in a surface following a black and white map, or the transparency of the colour texture. It is the trick behind leaves drawn on flat cards, lace curtains and perforated metal. It is not transparency: where the surface is cut, there is simply nothing.
Texture mapping#
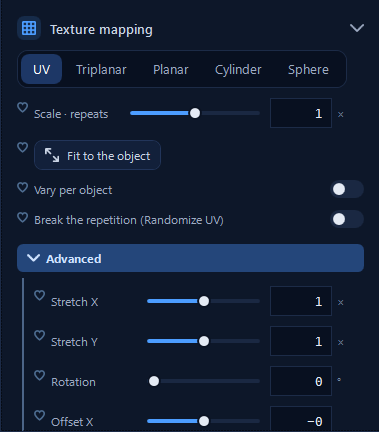
Mapping decides how the picture is laid on the model. UV uses the layout prepared by the author of the model and is the right choice for well-made models. When a model has no good UV, which happens often with models downloaded for free, the projections Triplanar, Planar, Cylinder and Sphere lay the texture from outside and work anyway. Scale · repeats sets how big the pattern is, and Fit to the object adapts it to the size of the model.
Two switches fight the «copied» look. Vary per object gives every copy a slightly different position of the texture, so a row of identical planks does not have identical knots. Break the repetition hides the visible tiling on big surfaces. Under Advanced you can stretch, rotate and offset the picture.
Water#
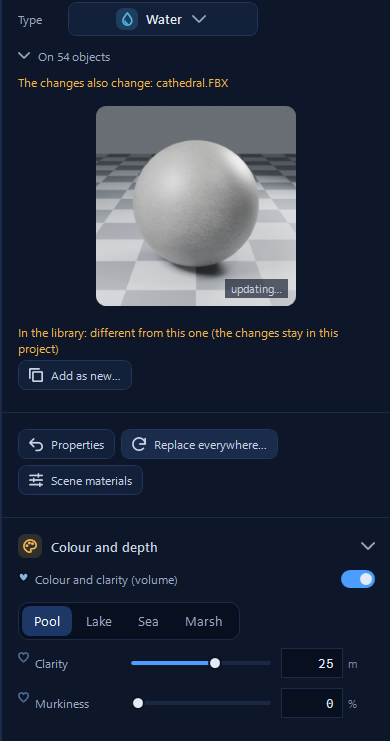
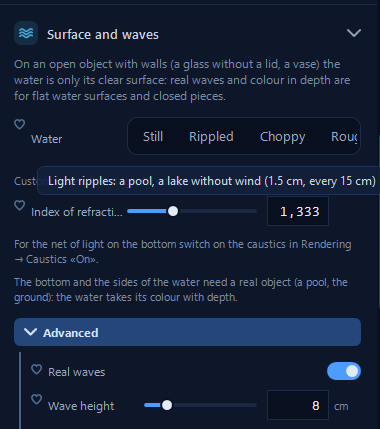
The Water type shows only what matters for water. In Colour and depth, Colour and clarity (volume) makes the water darker and more coloured the deeper it gets, like a real pool where the shallow end is light blue and the deep end turns intense. The presets Pool, Lake, Sea and Marsh set the colour, the Clarity (how many metres you can see through) and the Murkiness.
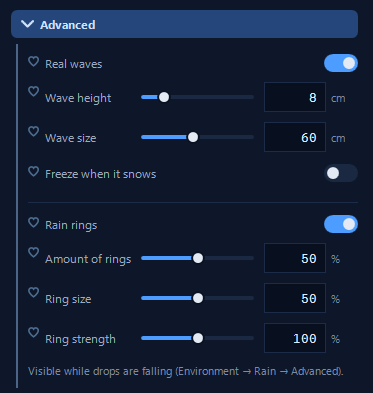
In Surface and waves you choose how lively the surface is, from Still to Rough. Under Advanced you can turn on Real waves with their height and size, make the water Freeze when it snows, and add the Rain rings that spread on the surface while drops are falling.
For the shimmering net of light on the bottom of a pool, turn on the caustics in Rendering ▸ Caustics ▸ On. The water needs a real bottom and sides, the pool or the ground, from which it takes its colour with depth. On an open object with walls, like a glass without a lid or a vase, the water is only its surface.
Displacement#
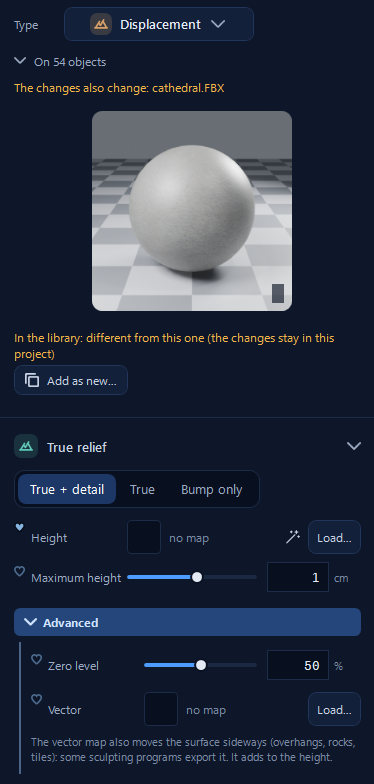
A normal map only fools the light; True relief really moves the surface. Stones stick out of a dry wall, the bark of a tree has deep cracks, a cobbled street has real bumps, and you see them even in the silhouette against the sky. Choose True + detail (real relief plus the fine detail of the normal map), True or Bump only, then the Height map and the Maximum height in centimetres.
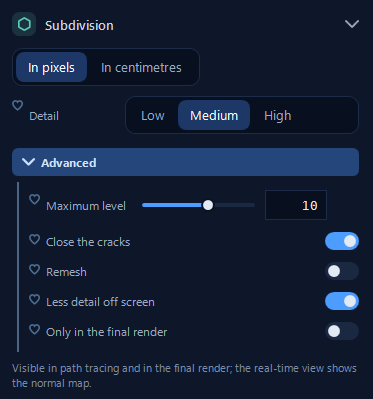
To move the surface, Simpler has to divide it into many small faces, and Subdivision decides how many. Low, Medium and High detail are enough to choose from; Less detail off screen saves memory where the camera does not look, and Only in the final render keeps the preview fast.
The relief appears in path tracing and in the final render; the real-time view shows the normal map.
Foliage#
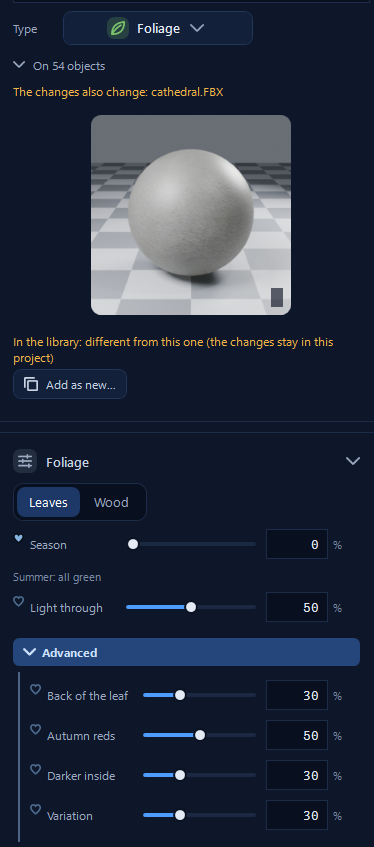
Foliage is the material of plants, and plants imported with Import vegetation into the library… get it automatically. Choose Leaves or Wood. The most magical slider is Season: from summer, all green, to autumn and winter: one movement takes a tree from June to October. Light through decides how much sun shines through the leaves, the glowing green you see looking at a tree against the light.
Under Advanced: the colour of the Back of the leaf, the amount of Autumn reds, Darker inside (the inner leaves get less light, which gives depth to the crown) and Variation, so that no two plants are exactly alike.
Fabric#
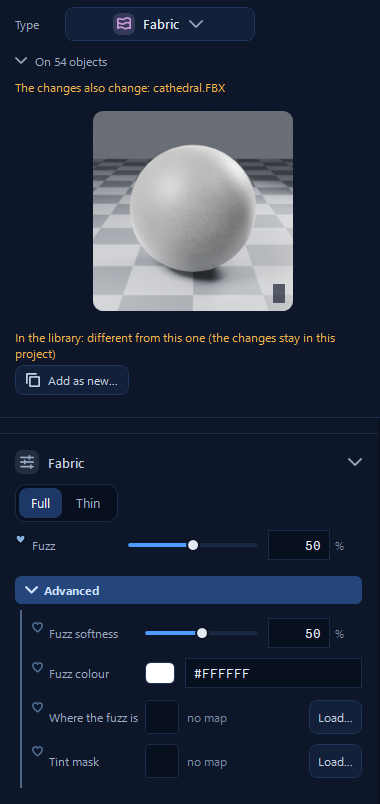
Choose Full for velvet, wool, cotton and denim, and Thin for curtains, tulle and gauze that let you see and let light through. Fuzz adds the soft hairs that catch the light at the edges of a sofa or a blanket; under Advanced you choose how soft and what colour it is, and where it is.
Interiors#
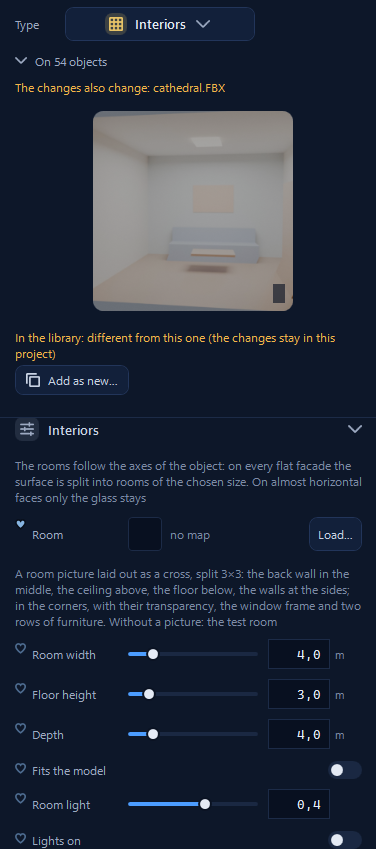
A building seen from outside has dozens of windows, and behind each one there should be a room. Modelling them would be madness; with the Interiors material on the window glass, a room simply appears behind every window, with its depth, changing perspective as the camera moves. The rooms follow the axes of the object, and every flat façade is divided into rooms of the size you choose with Room width, Floor height and Depth.
Without a picture you get a neutral test room. With Room you can load your own: a picture laid out as a cross split 3×3, with the back wall in the middle, the ceiling above, the floor below, the side walls left and right, and the window frame and two rows of furniture in the corners. In the evening, Room light and Lights on light the rooms from inside.
A city street at dusk: give the windows of the buildings the Interiors material and turn on the room lights. The façades come alive with dozens of lit rooms, at almost no cost.
Volumetric#
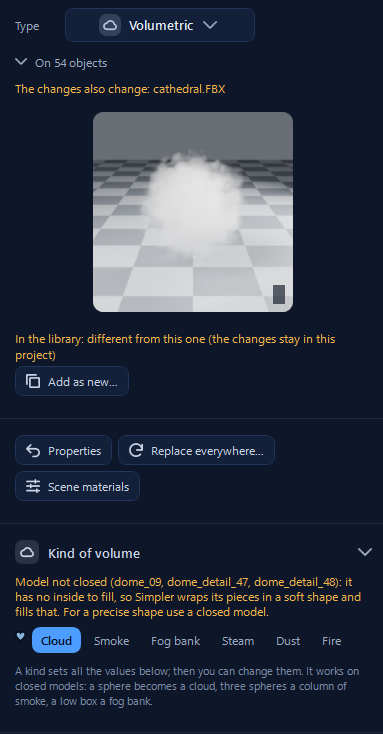
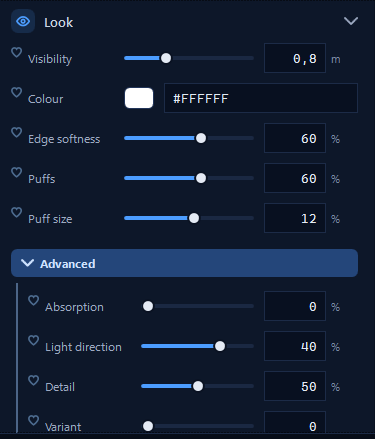
The Volumetric type makes the surface of a model disappear and fills its inside with a soft volume. Start from a kind: Cloud, Smoke, Fog bank, Steam, Dust or Fire. The kind sets all the values for you, and then you can change them. It works best on closed models, and simple shapes give surprisingly good results: a sphere becomes a cloud, three stacked spheres a column of smoke, a low box a bank of fog. If the model is not closed, Simpler wraps its pieces in a soft shape and tells you.
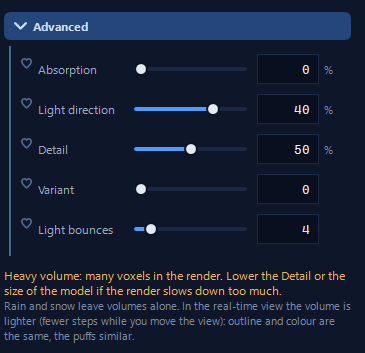
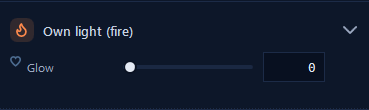
In Look, Visibility says through how many metres you can still see: little for dense smoke, a lot for light fog. Puffs and Puff size shape the soft bumps of a cumulus. Under Advanced, Absorption makes the volume darker (0% is a white cloud, high values a black smoke) and Light bounces decides how bright the inside is: more bounces give a luminous, natural cloud, but take longer. For fire, Own light gives the volume a Glow of its own.
Dense volumes slow the render down. If it happens, lower the Detail or the size of the model.